This post shows you how to grow potatoes in a container when you have limited space!
Interested in learning how to grow potatoes but don’t have a large backyard or garden space? Container gardening is the perfect space-saving solution to enjoy bountiful potatoes right from the comfort of your own home.
It’s easier than tilling soil or building a raised bed. It’s also an excellent option for budget-conscious gardeners or those looking to become more sustainable.
While potatoes are relatively inexpensive at the store, learning to grow your food is a life lesson everyone should learn. And after tasting a home-grown potato, you may never want to go back to the store!
In this post, we’ll show you everything you need to know about how to grow potatoes in containers, from selecting the right container to harvesting this hearty vegetable.
Be sure to save this pin for later!
Best tips for growing potatoes in containers
- Potatoes love organic soil. Before growing a spud, consider making a compost pile. You can find options to source compost near you locally or learn how to make your own for free!
- Potatoes grow best in temperatures that range from 50 to 70 F. They can survive outside these ranges but this is ideal. They love sunny locations so a southern or west-facing direction is key!
- Keep soil moist but not waterlogged. I learned this the hard way after throwing a spud into a compost mix and it rotted right along with the compost!
- Use larger sturdy containers. Drill drainage holes that allow proper air circulation and water drainage.
Now, let’s dive into the step-by-step process of how to grow potatoes in containers
1. Select your container
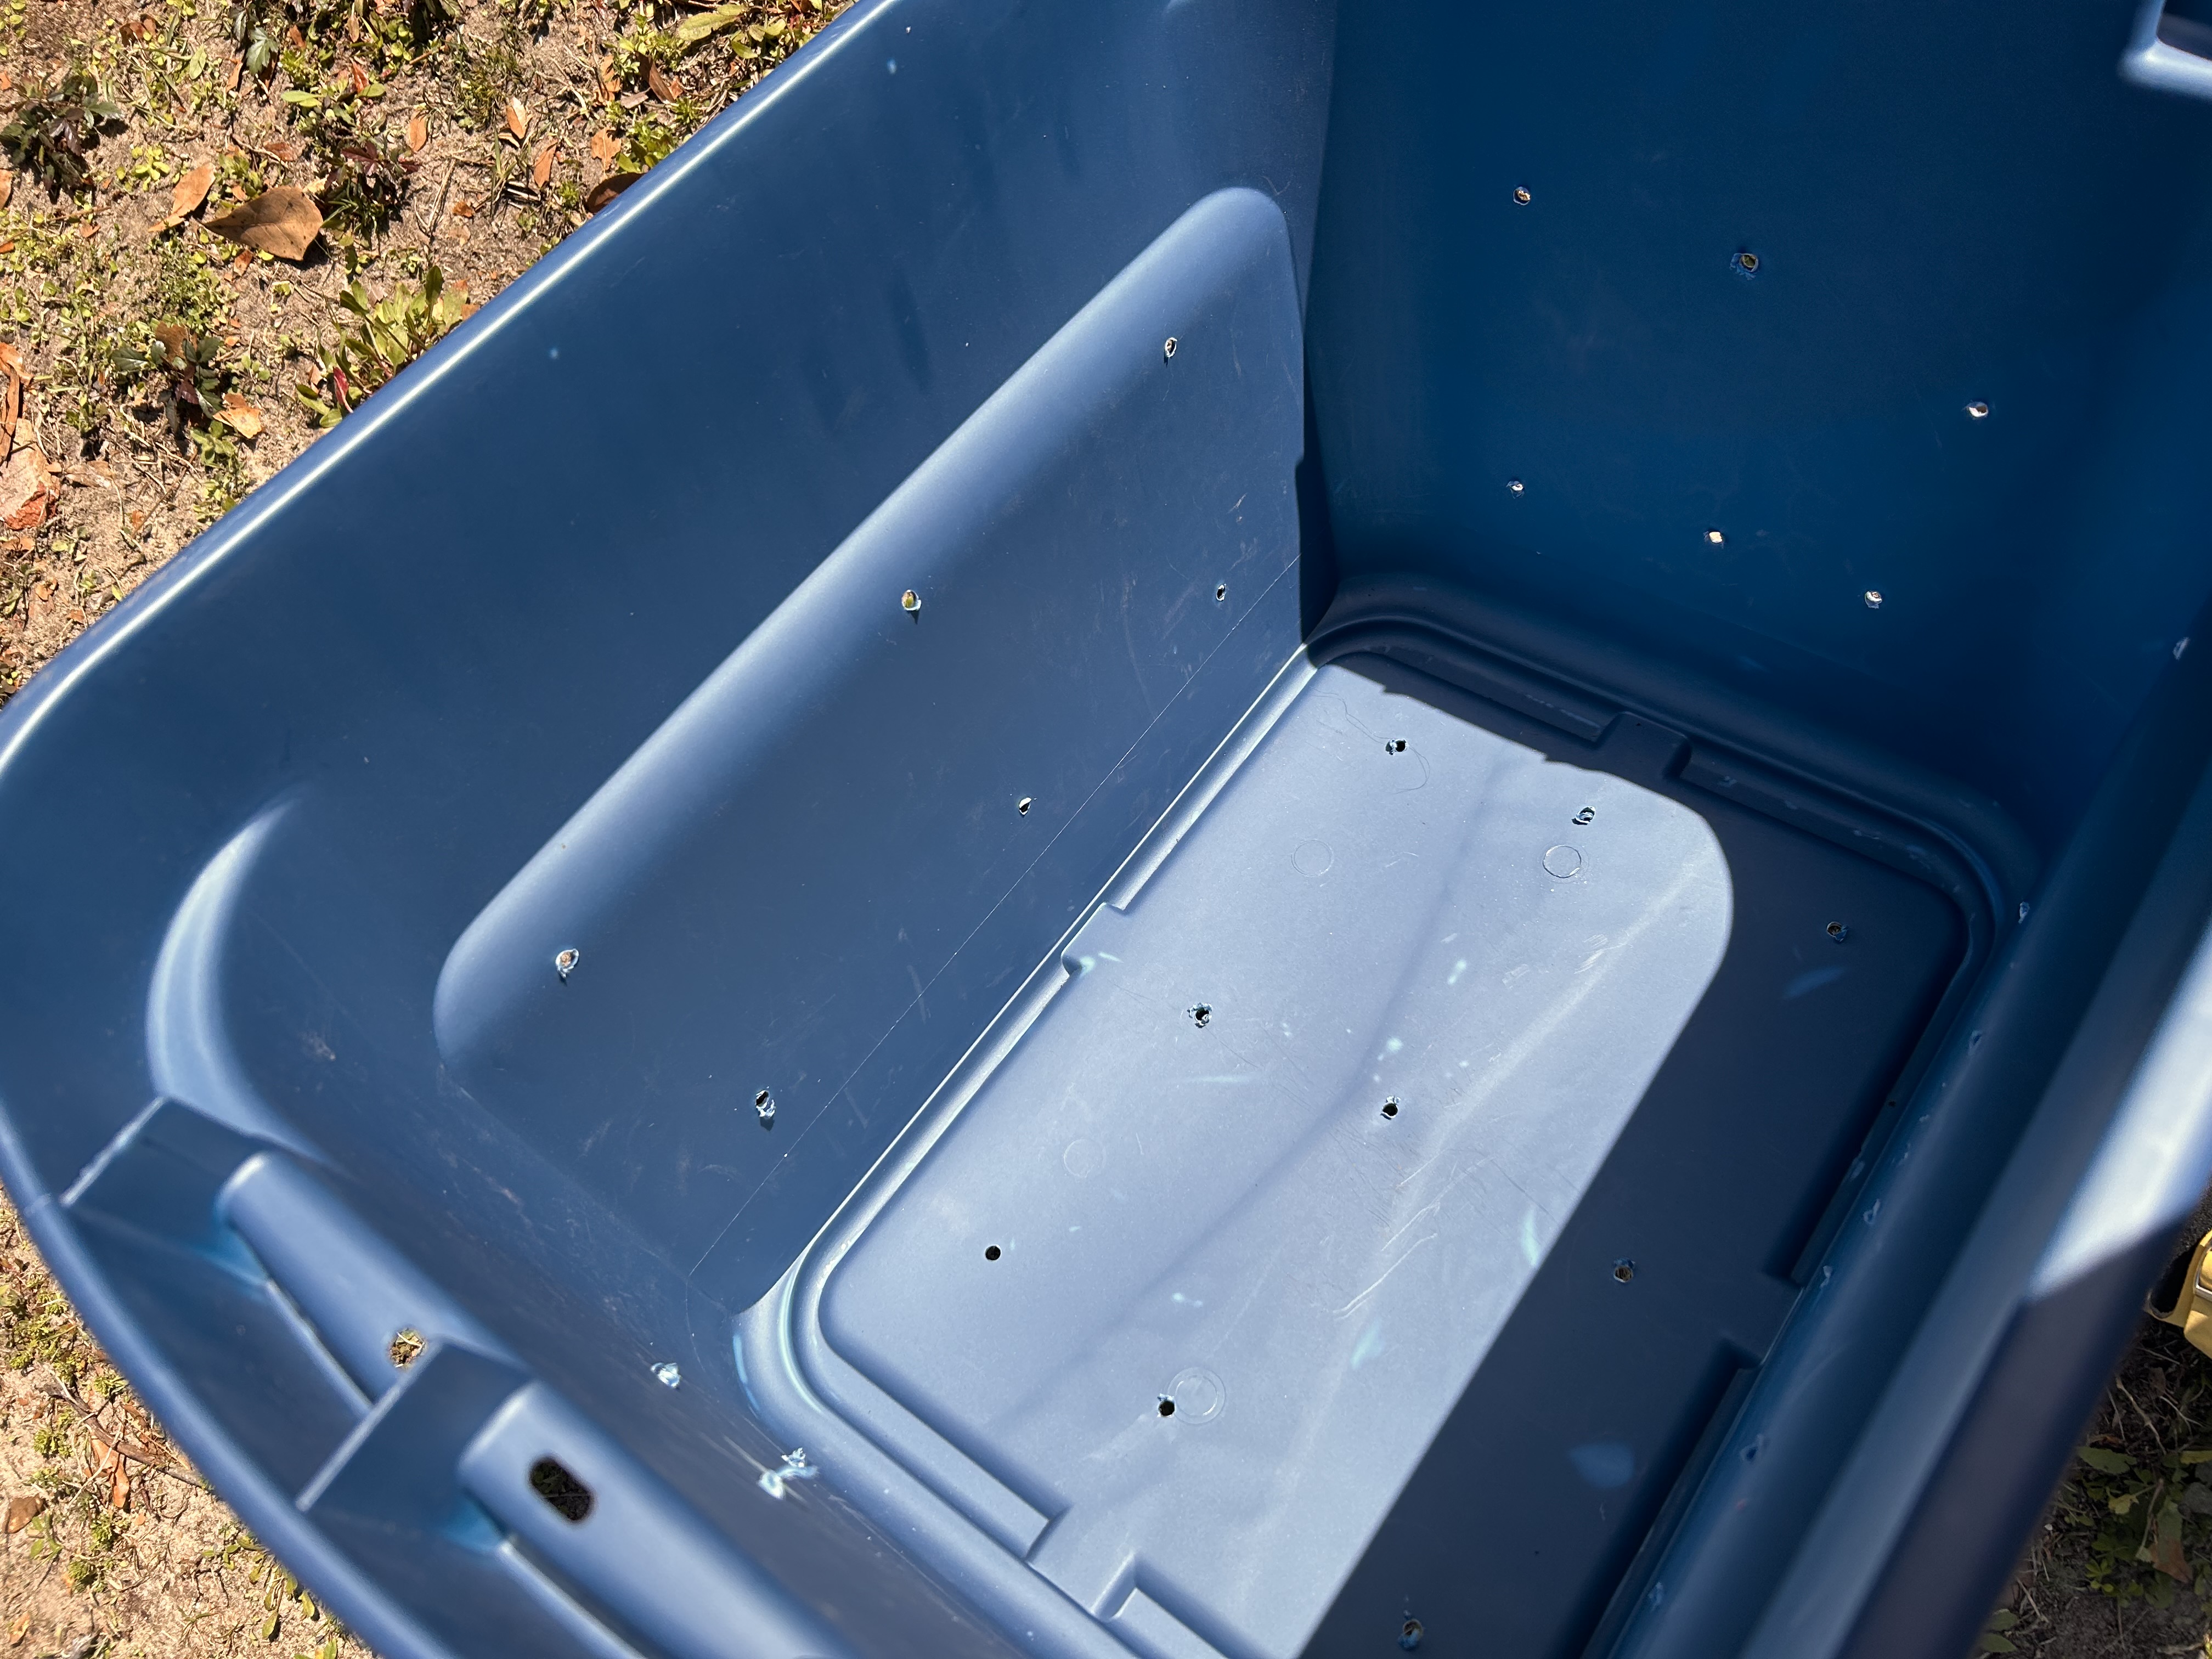
Go with a larger container to grow your potatoes in. This could be a utility bucket, a milk crate, or a storage tote like the one above.
Opt for large containers with a capacity of at least 10-15 gallons to accommodate the growing potato plants.
Remember to drill drainage holes at the bottom and sides to prevent waterlogging, which can cause root rot.
No drill?
You can also try heating the tip of a metal tool, such a screwdriver, and burn holes into the container.
2. Prepare your potting mix
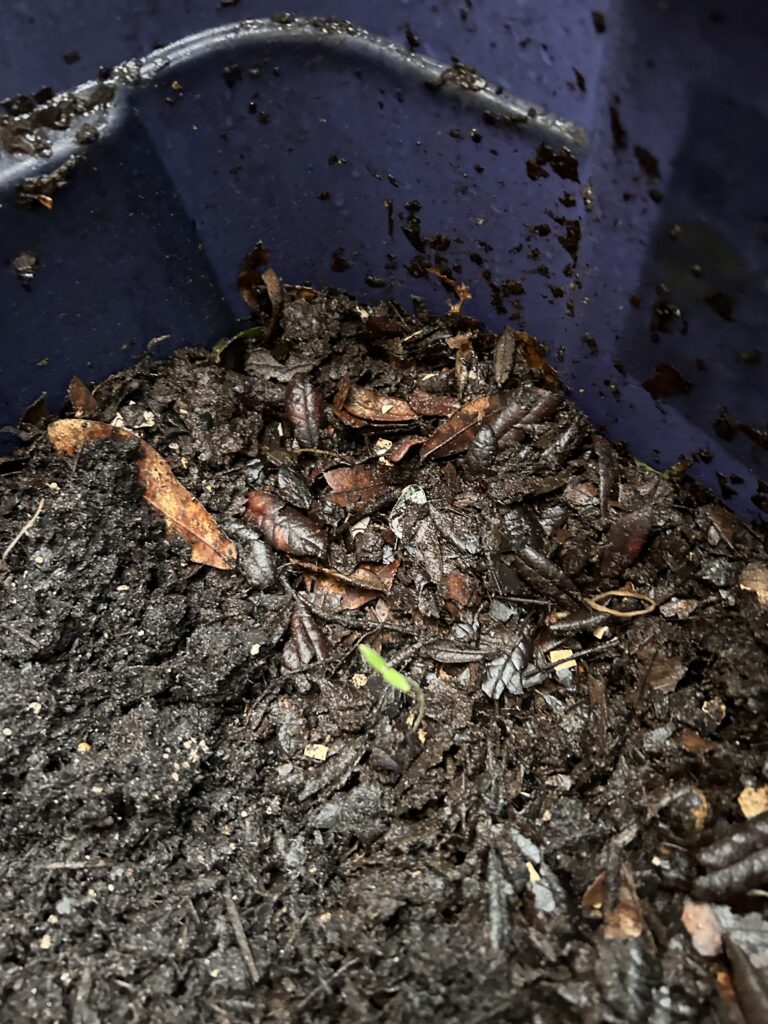
Fill the containers with a high-quality potting mix that is well-draining and rich in organic matter.
You can create your own potting mix by combining equal parts of compost, perlite, and vermiculite.
This batch was a mix of compost and last season’s potting soil.
You can purchase a pre-mixed potting soil from your local garden center!
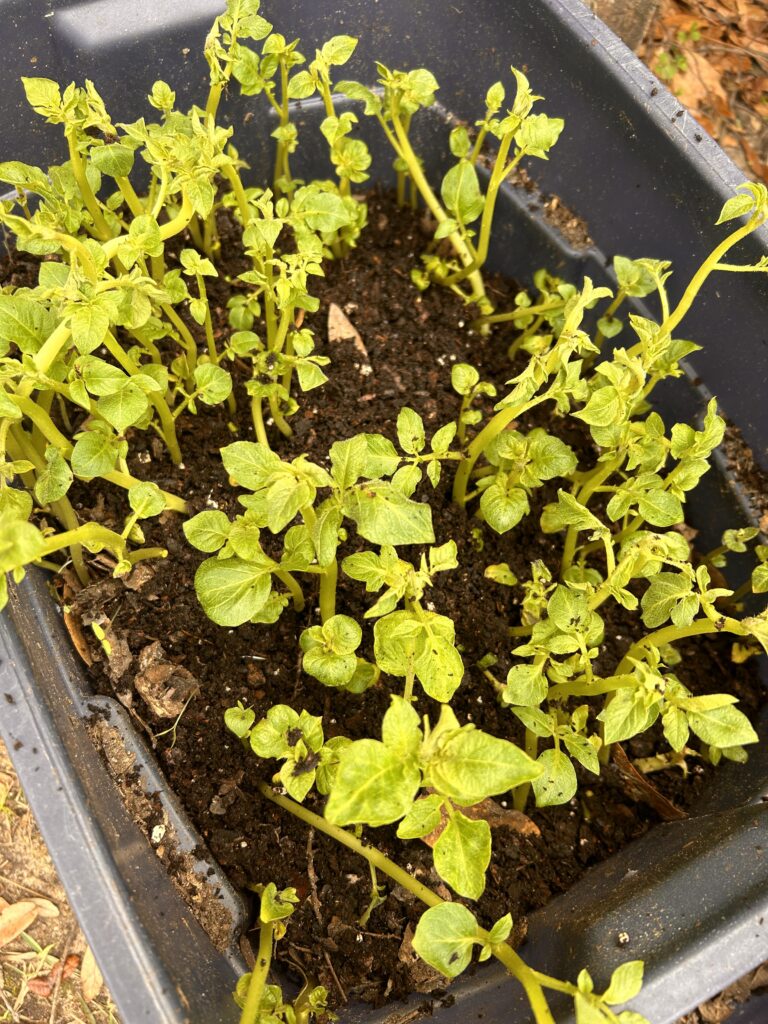
3. Plant your potato
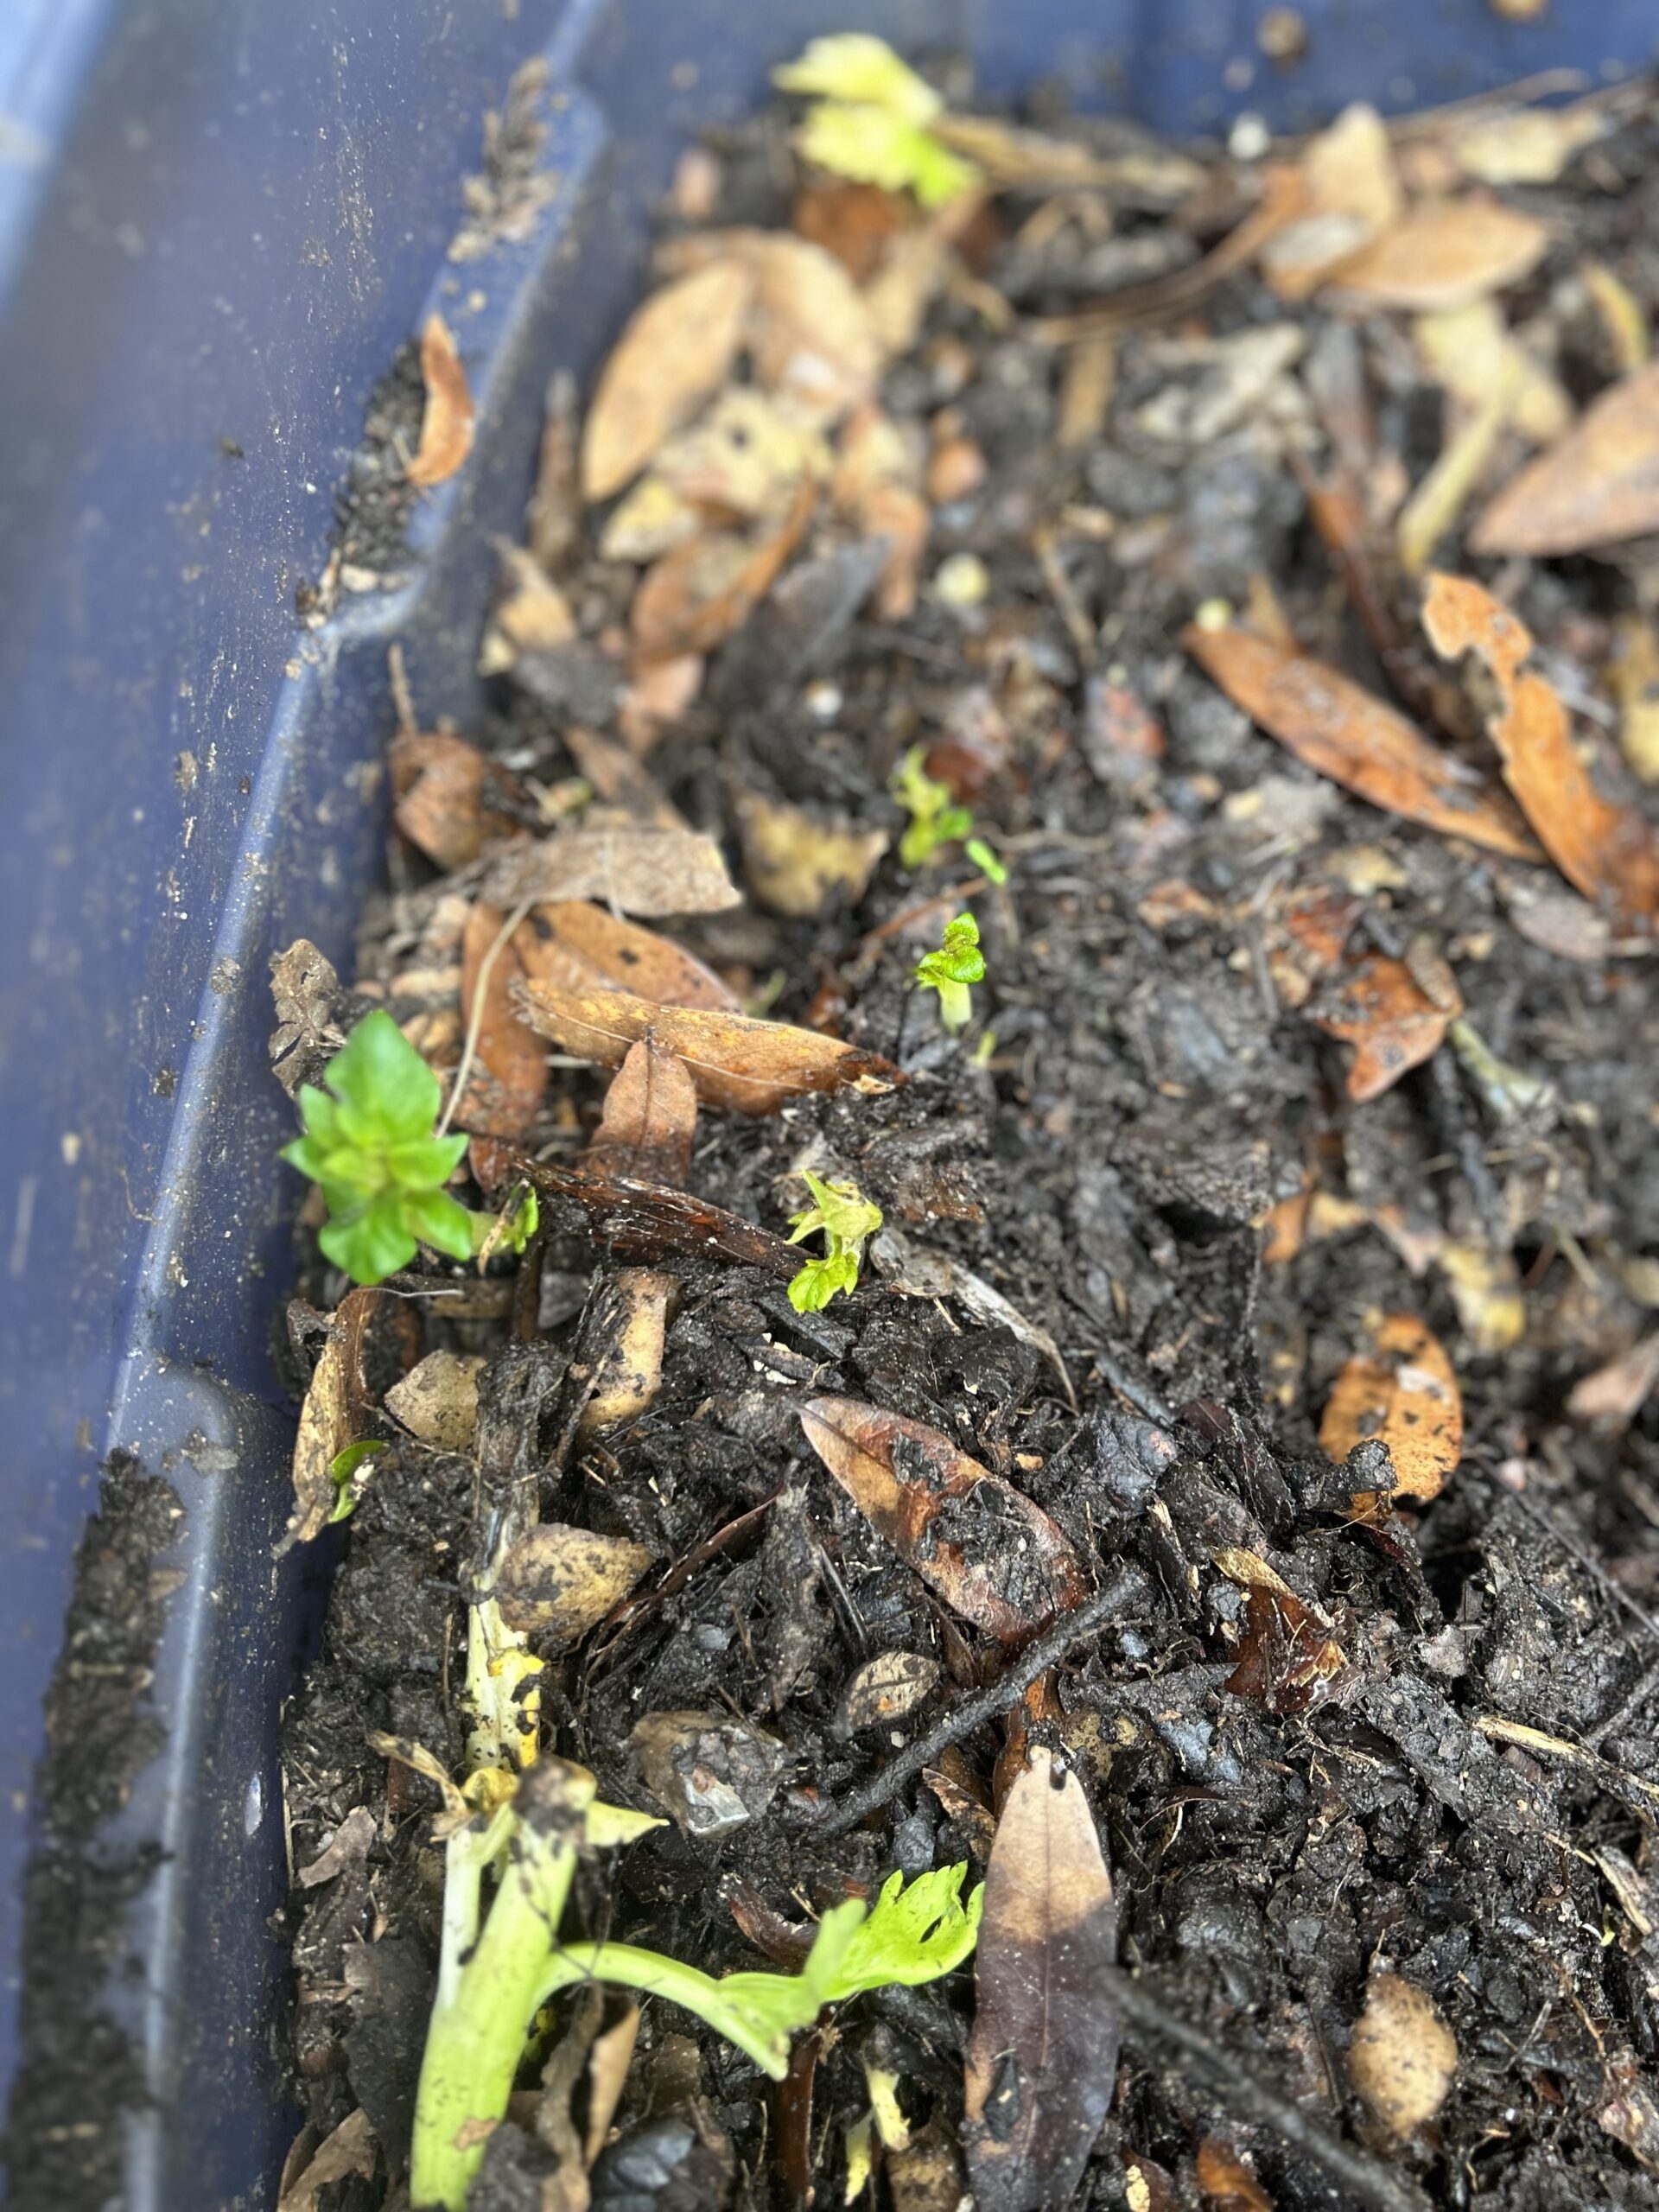
Fill the containers with 4-6 inches of potting mix. Then place the seedlings on top with the sprouted side facing up.
Cover the seedlings with an additional 2-3 inches of potting mix, and try to leave a few inches of space between the soil surface and the rim of the container.
When it comes to container gardening, not all potato varieties are created equal.
Go for compact or determinate varieties such as Yukon Gold, Red Norland, or Russet Burbank; all which are adapted for growing in containers.
Avoid planting large or sprawling varieties that require more space to spread out.
4. Water consistently
Keep the soil evenly moist throughout the growing season. Water the containers whenever the top inch of soil feels dry to the touch.
Avoid overwatering, as this can lead to waterlogged soil and root rot.
You may need to fertilize your potato plants every 2-3 weeks with a balanced organic fertilizer to promote healthy growth.
4. Sunlight and Temperature
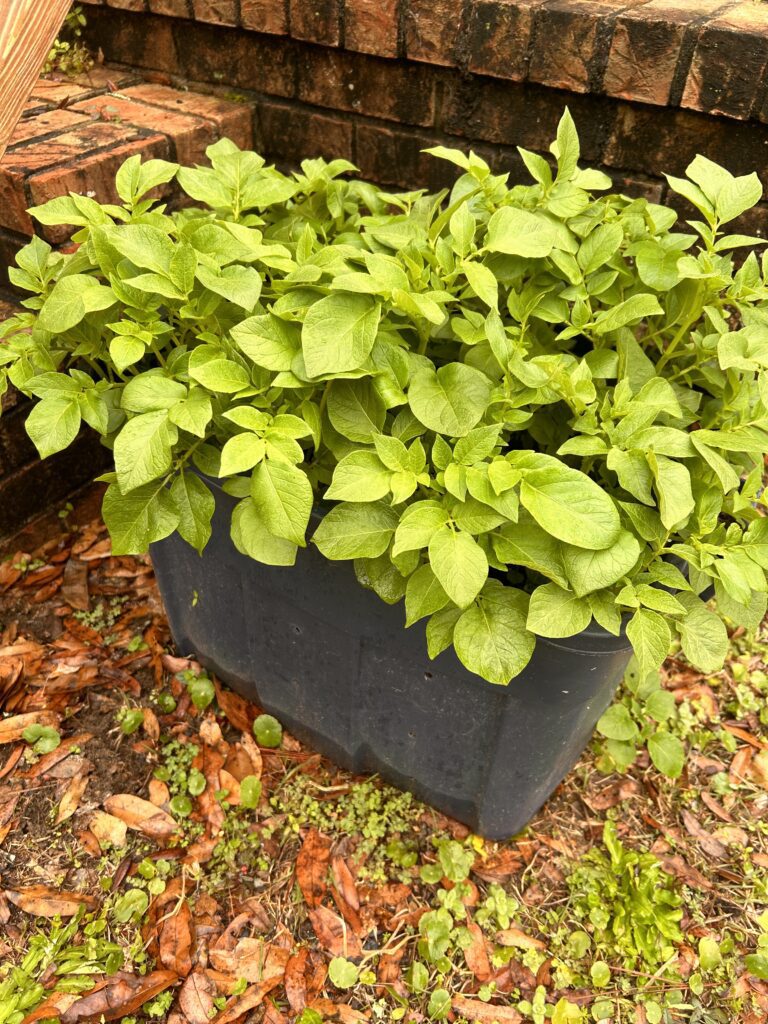
Position your containers in a sunny location where they will receive at least 6-8 hours of sunlight per day.
Potatoes thrive in warm temperatures, so make sure to place your containers in a spot with warmth and shelter from strong winds.
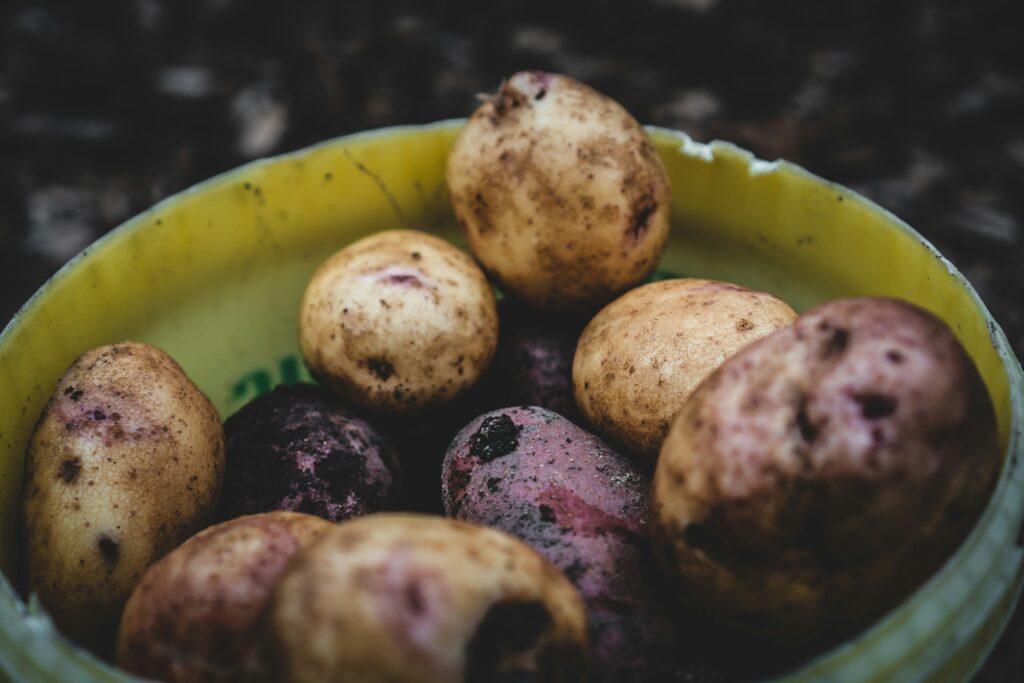
5. Harvest your potatoes!
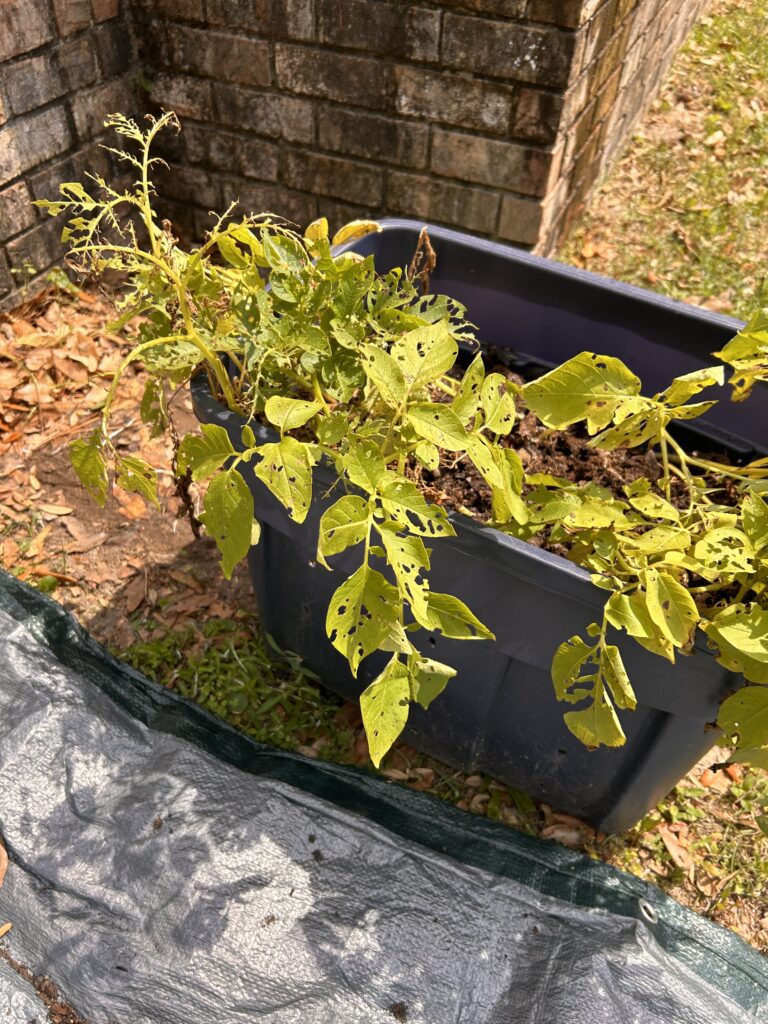
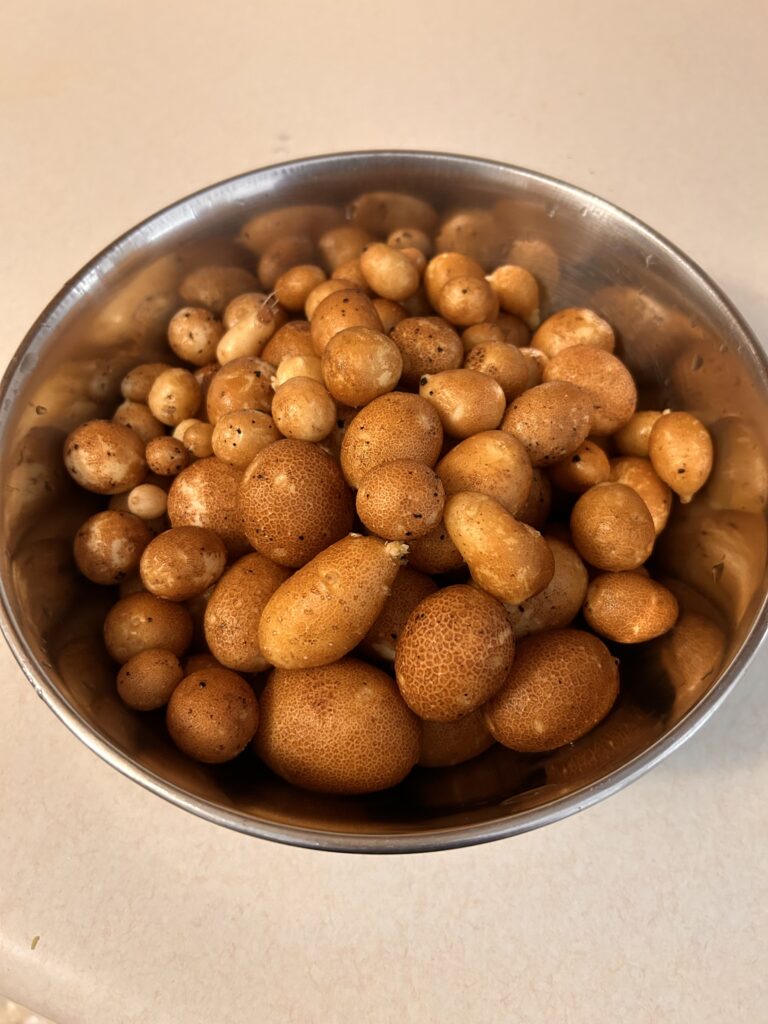
Once your potato leaves then yellow and start dying and look scraggly and/or start getting eaten by the bugs like mine, you are ready to harvest, typically 10 to 12 weeks after planting. If growing in containers, I recommend laying out a tarp to dump your treasures and avoid making a mess!
Allow the harvested potatoes to cure in a cool, dark place for 1-2 weeks before storing them in a cool place.
Potato Tips” for the Best Success!

Hilling and Mulching: As your potato plants grow, mound additional soil or mulch around the stems to promote the development of tubers and prevent them from turning green.
Pest and Disease Management. Keep an eye out for common potato pests such as potato beetles, aphids, and potato tuber moths. Take quick action to control infestations using an organic repellant method like hand picking or neem oil.
Final Thoughts
This post had shown you how to grow potatoes in containers! Not only is container gardening a sustainable and frugal way to grow your own food, but it also allows you to experience the joy of gardening even in limited space. So why wait? Get started on your potato-growing adventure today and reap the rewards of your labor come harvest time!
You may also like:
7 Ridiculously Easy Vegetables to Grow in Containers!