Gardening is a feat on its own without growing them in pots, but hear me out: learning proper repotting techniques is easy to learn, so there’s no excuse for suffocating plants in pots and containers that are too small! To keep things classy, choose a space to repot your plant and store soil mixtures, fertilizers, or tools. This can be a basement, garage, or if you’re short on space, a simple plastic storage bin!
You should check to see if you need to repot a plant once a year, preferably right before the new growing season, which makes December/January perfect! Move the ones that need more space into a larger pot. I find repotting plants to be therapeutic and a great way to ground yourself while also learning your plant’s love language.
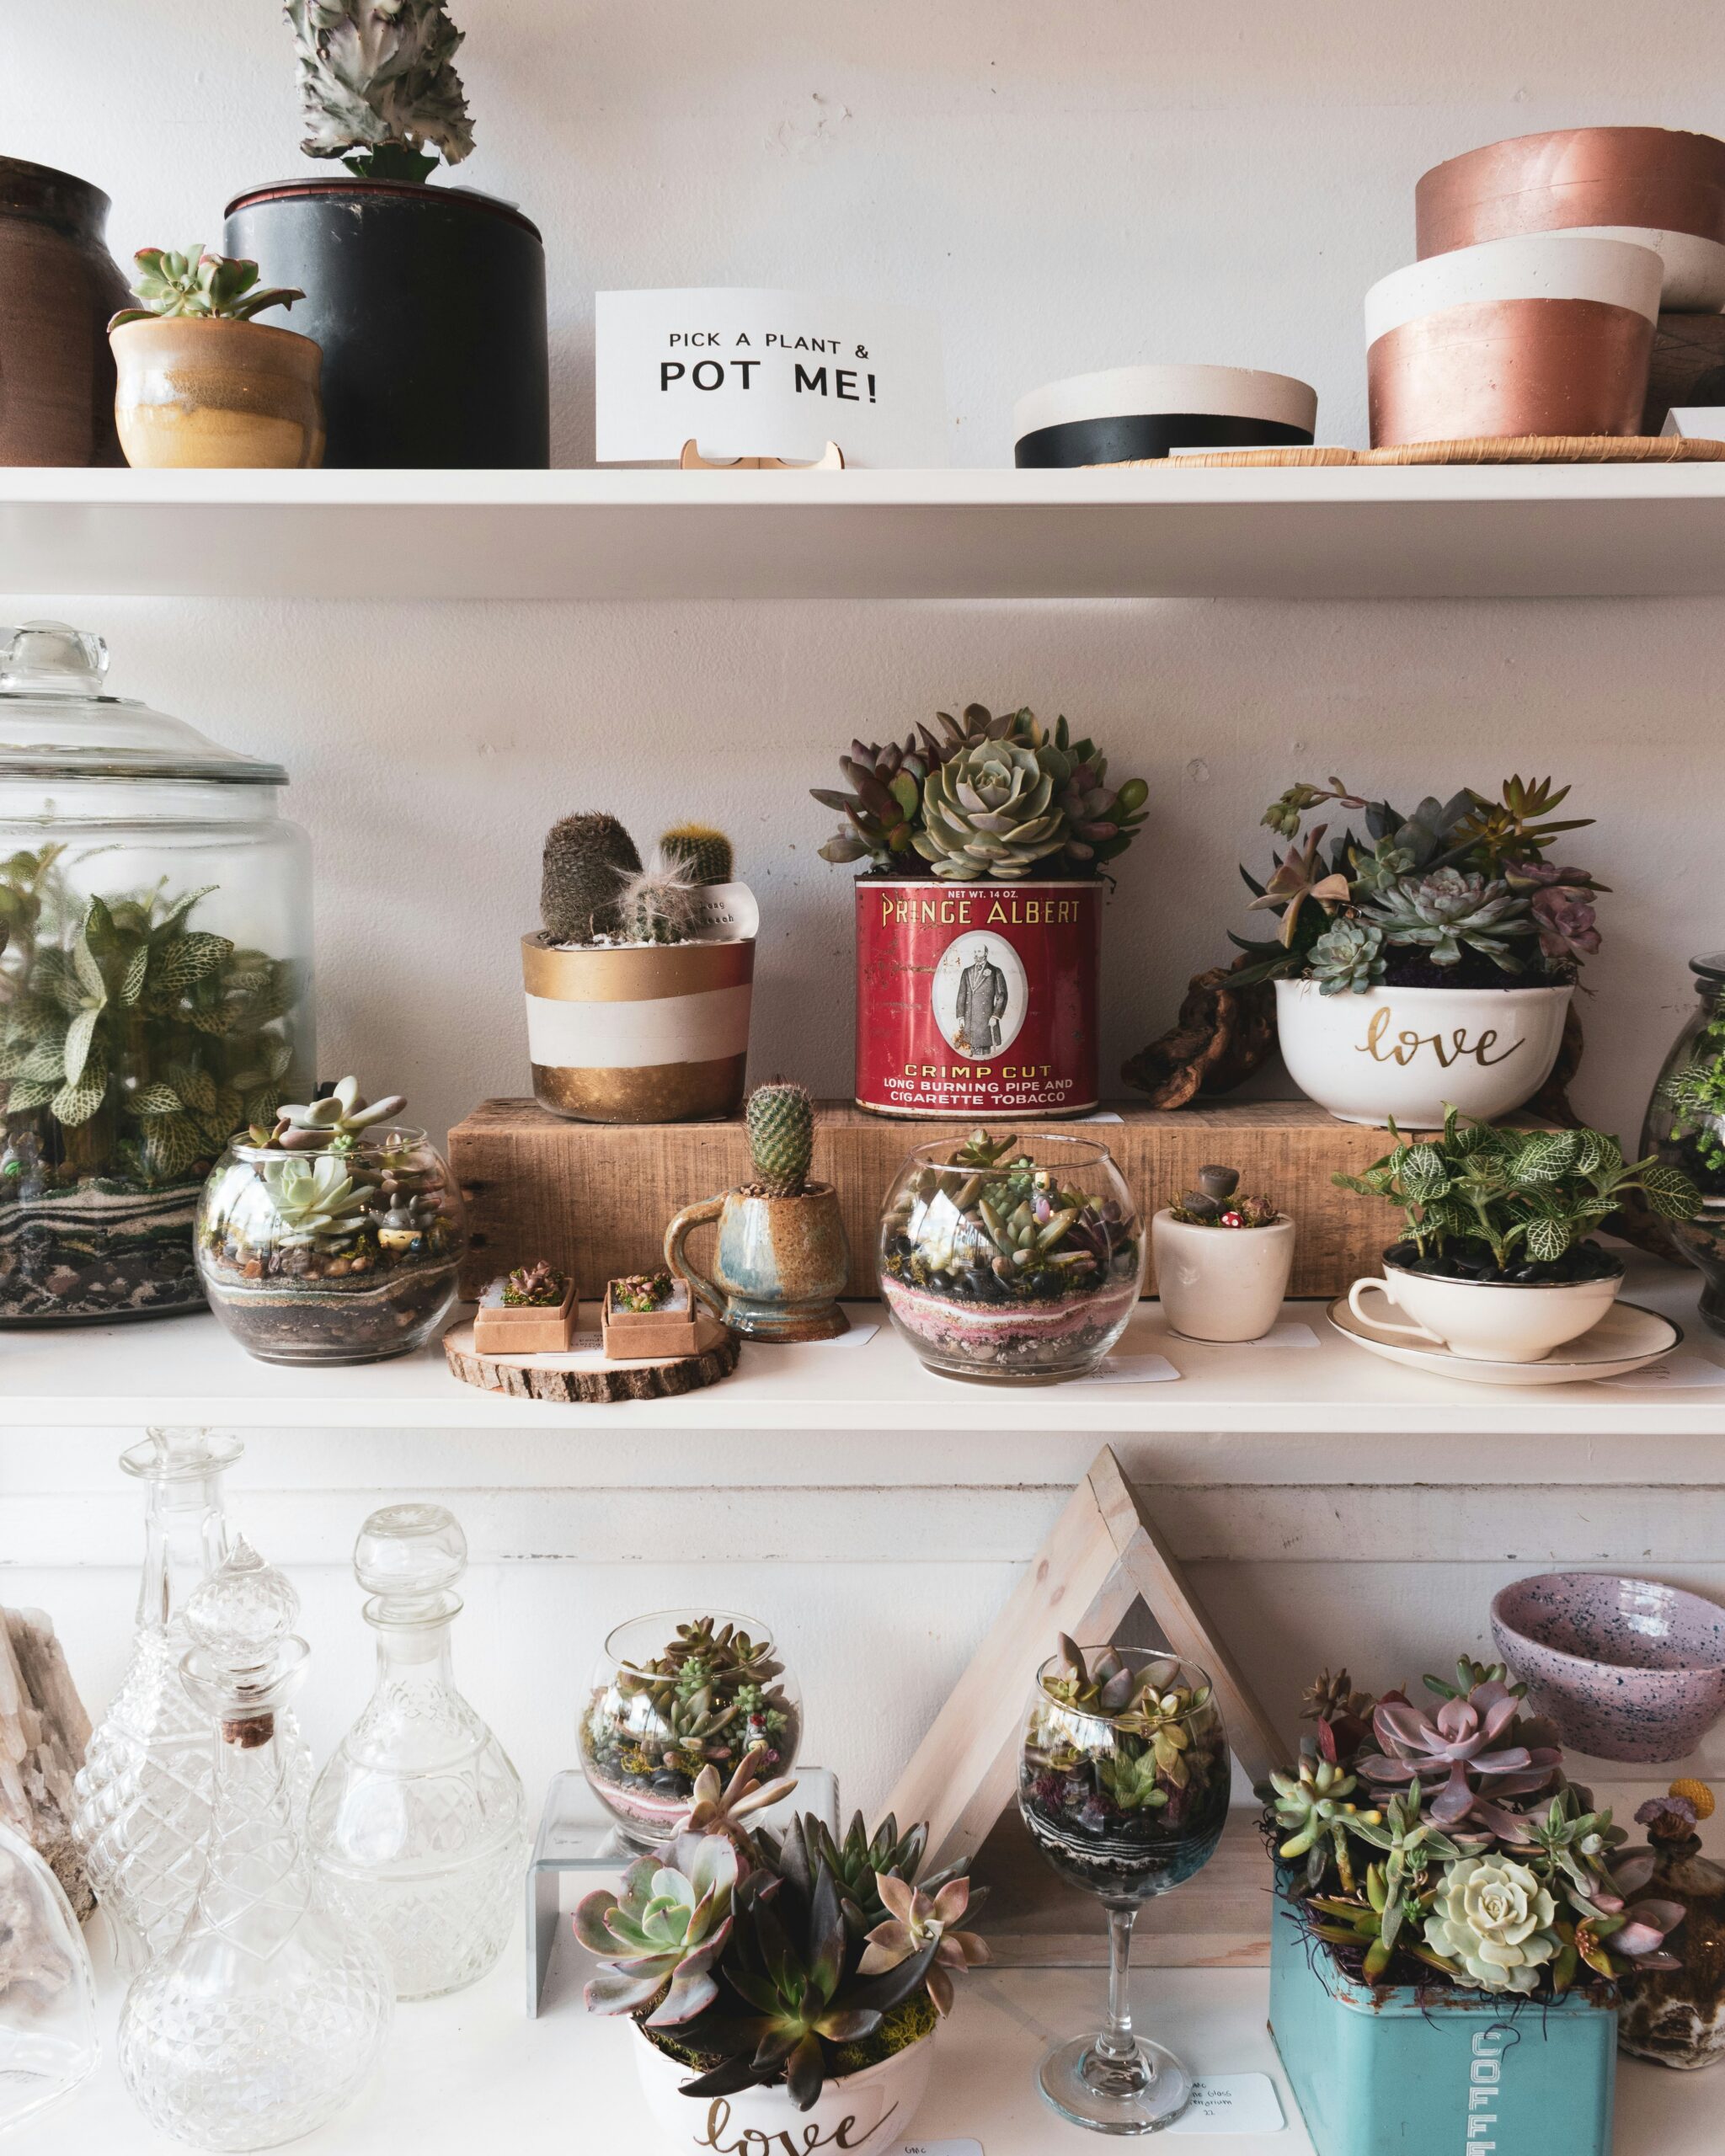
And who doesn’t love shopping for a new and unique pot to add to their garden?
How to Know If Your Plant Needs Repotting
Plants are tricky but there are a few obvious ways to signal that your plant needs to be repotted:
- You see the plant wilting between normal watering schedules.
- New leaf growth is considerably smaller than the older ones.
- Plant growth is leggy or not growing at all. Unless dormant during winter months.
- If it’s an older plant, it may be root-bound.
- Constantly watering a plant because the soil won’t hold moisture.
Choose Your Planter
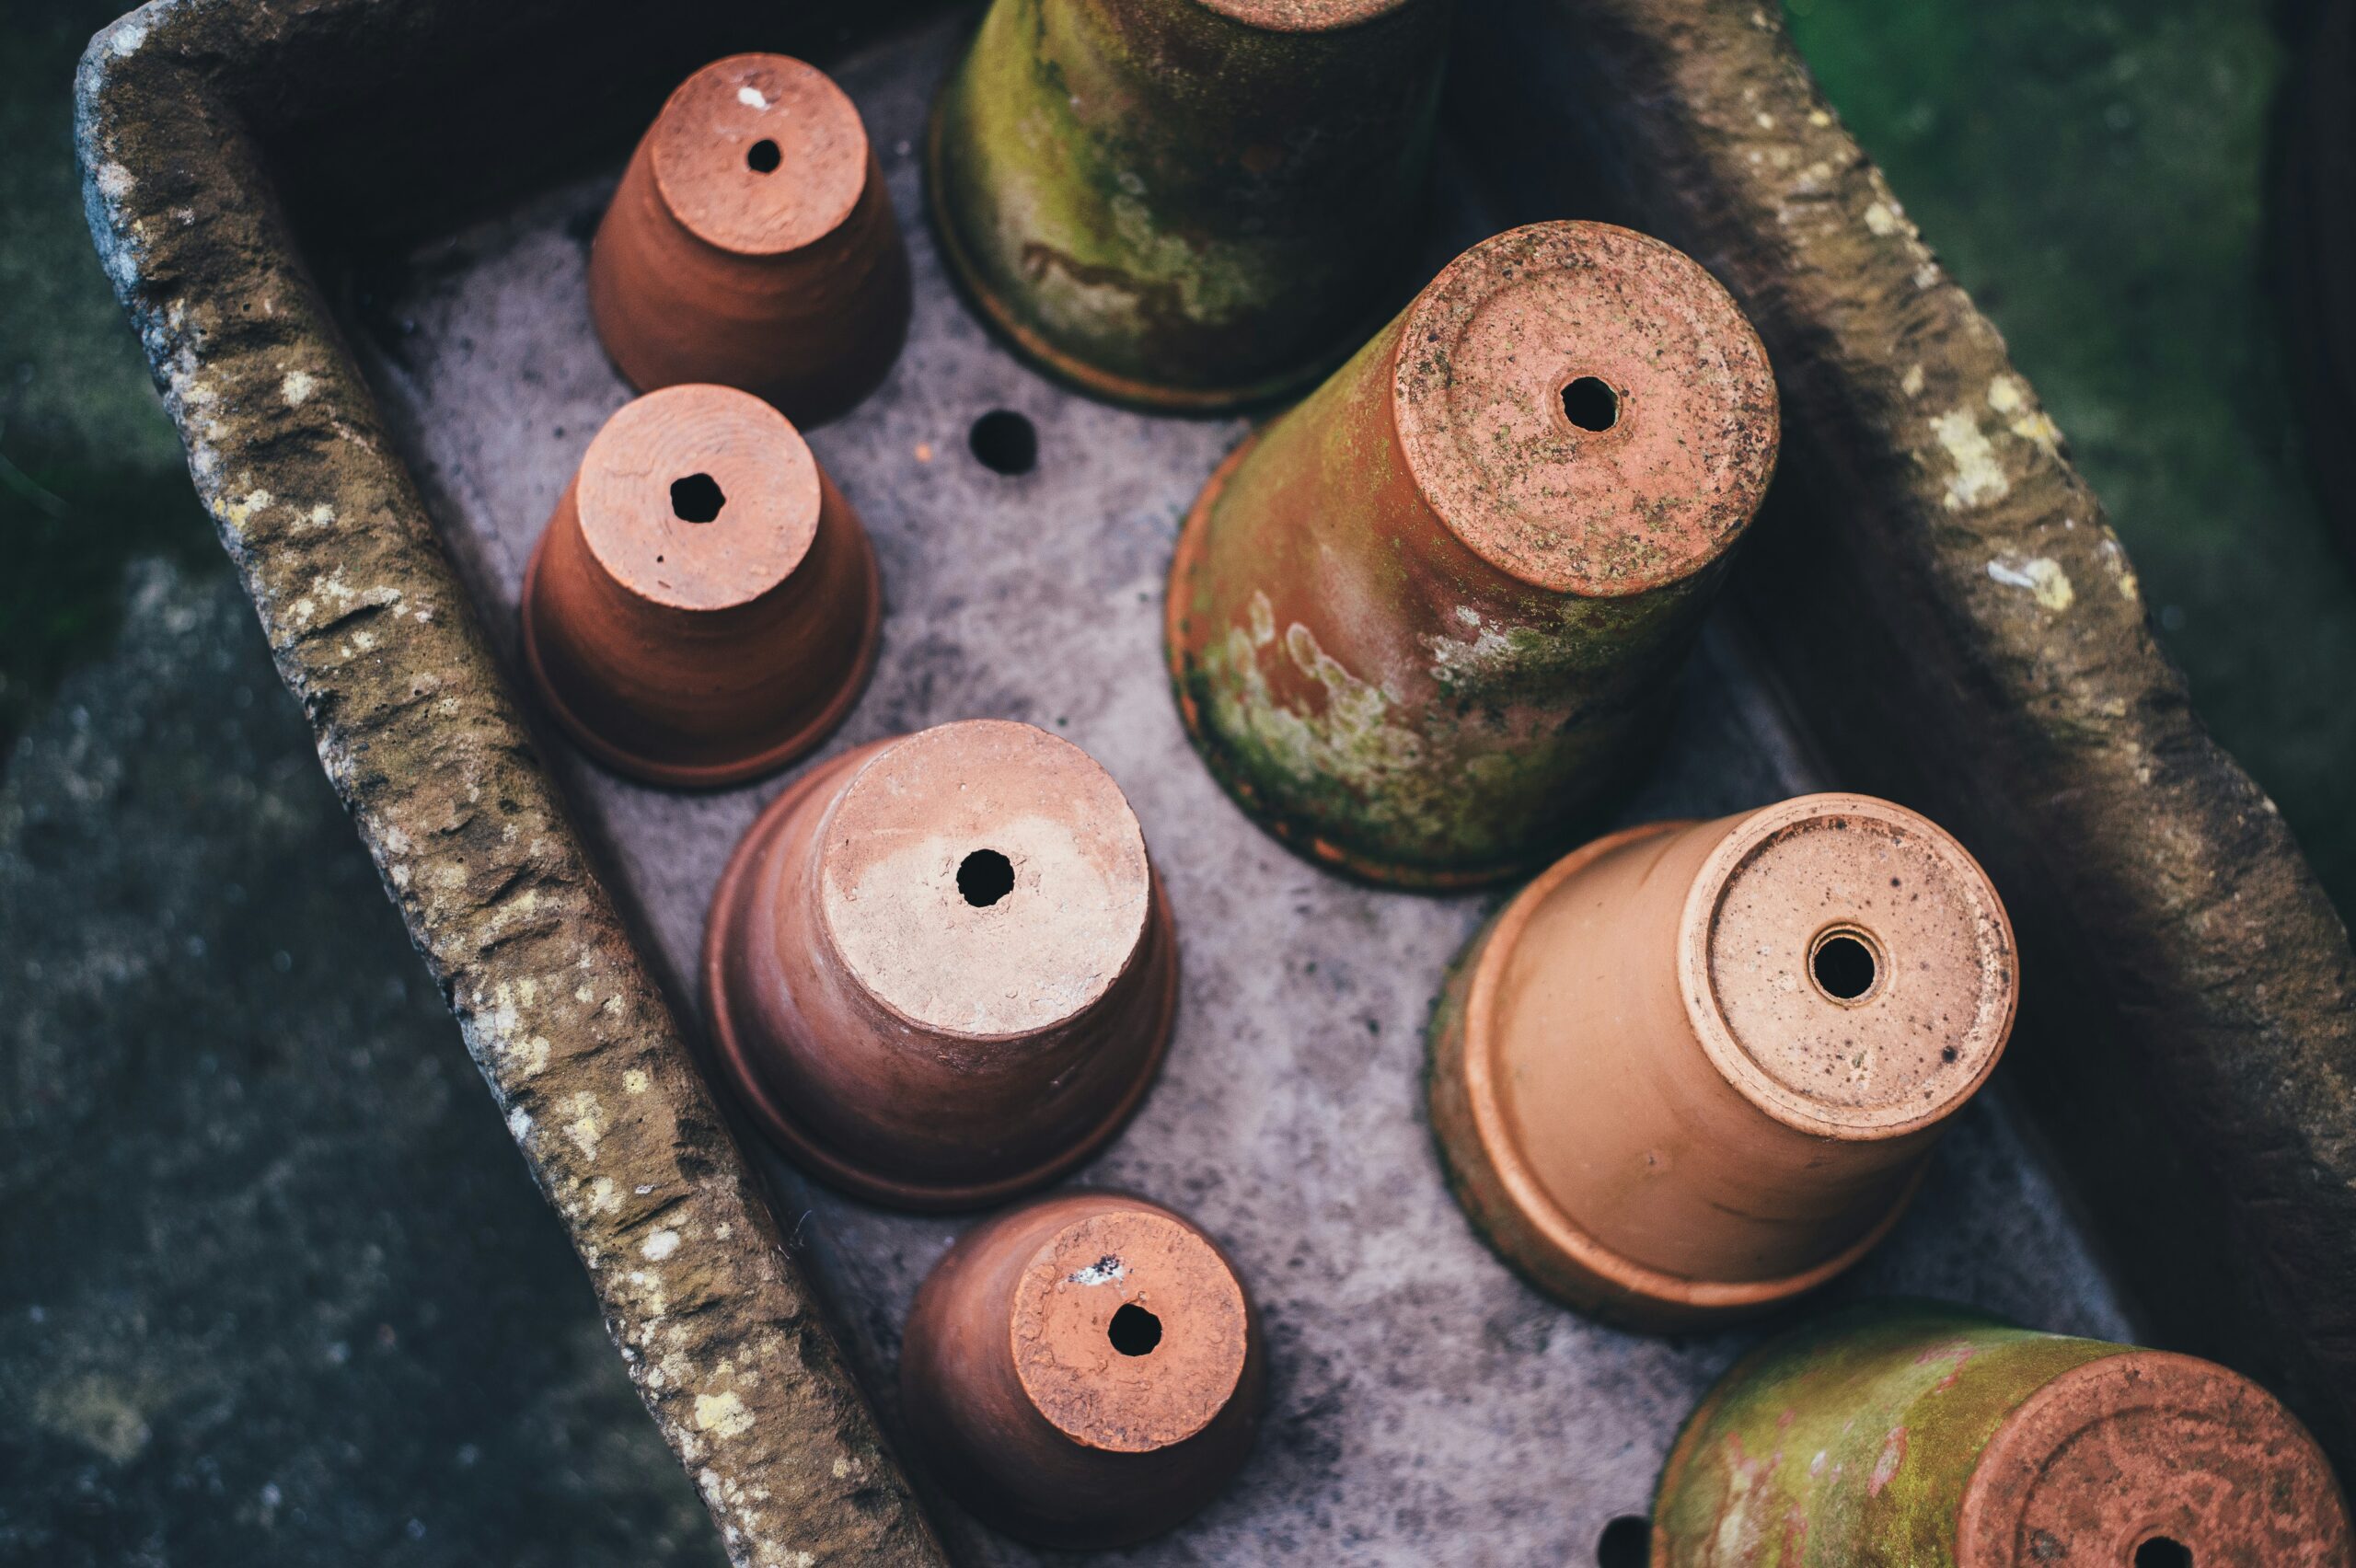
The first thing you should consider before repotting a plant is the type of container you want to use. Most pots sold on the market are made from clay, plastic, or ceramic. While all three are fine, clay and unglazed ceramic pots let moisture escape quickly and let the roots breathe. This is ideal for herbs that need to dry out between waterings but this doesn’t work so great for plants that need to retain water on hotter days. Be sure to check for drainage holes and saucers.
Prepare Your Soil
The type of soil you give your growth determines whether it will live or die so proper soil preparation is crucial! This isn’t hard, you can buy potting soil from your local nursery or big box retailer or you can mix your own using one part compost and one part vermiculite.
How to Repot a Plant
Step One. Have all your tools ready at hand and choose the size of pot you want. People always say bigger is generally better, well here is where the exception comes in! The new pot should be no more than an inch larger in diameter to prevent overwatering. Place a folded paper towel over the drainage hole of the pot to keep the soil from washing out as the excess water drains away.
Step Two. Make sure the soil is moist. Remove the plant from its old pot. If it’s plastic, you can tip it upside down and tap the bottom or against a counter. You can also place the pot on its side and roll it against a hard surface to loosen the soil. You can also use a garden spade or butter knife and run it along the side of the pot to separate the soil ball from the rest of the pot. Grab the plant by its stem near the soil and tug on it gently until it comes out.
Step Three. Center the plant in place in its new pot. Hold the plant steady with one hand and use the other hand to add the remaining soil. Pat the sides to hold the soil in place. Continue to add enough soil until there’s about an inch of space remaining at the top of the point for watering.
Step Four. Water the plant thoroughly. This can be done from the top, watering directly at the root, or by setting the pot into a saucer of water for an hour and letting it drain on its own.
Step Five. Set the new potted plants in indirect light. so they can adjust to their new environment. Young seedlings may show signs of transplant shocks, however, this resolves itself in a few hours after a thorough watering.
Tips and Tricks
Create your own soil mixture. Formulate your soil mixture for the type of plant you’re repotting. Add bark or wood chips to your new soil mixture for plants that need more moisture. For plants that need less moisture such as succulents or herbs, use less bark.
Dampen your soil. A common problem that I had after repotting plants was that the soil turned hydrophobic. This happens a lot with highly organic soil that’s been dried out or has unrotted compost. To prevent this, mix your soil in a cake pan with warm water before repotting, almost like you are preparing a dessert, ensuring all layers are completely hydrated. When the mixture is hydrated, you can repot your plant and don’t need to water for a few weeks to a month!
Use a tarp. Even if you’re using a plastic storage tote, lay down the tarp to catch any accidental crumbs. It’s perfect to use indoors or outdoors and you can just shake it outside when you’re done!
Final Thoughts
This article has shown you how to repot a plant without killing it! Now that you’ve successfully repotted your plant – why not try a hand at making your own potting mix? Do you have a favorite way to repot your plants? Let me know in the comments! 🙂


